Drill to Earth's Core The 100 km Glowing Core wall
500,000 HP, demon blasts, barricade the truck, six-plus medkits, speed potions, or skip with Drill Boost.
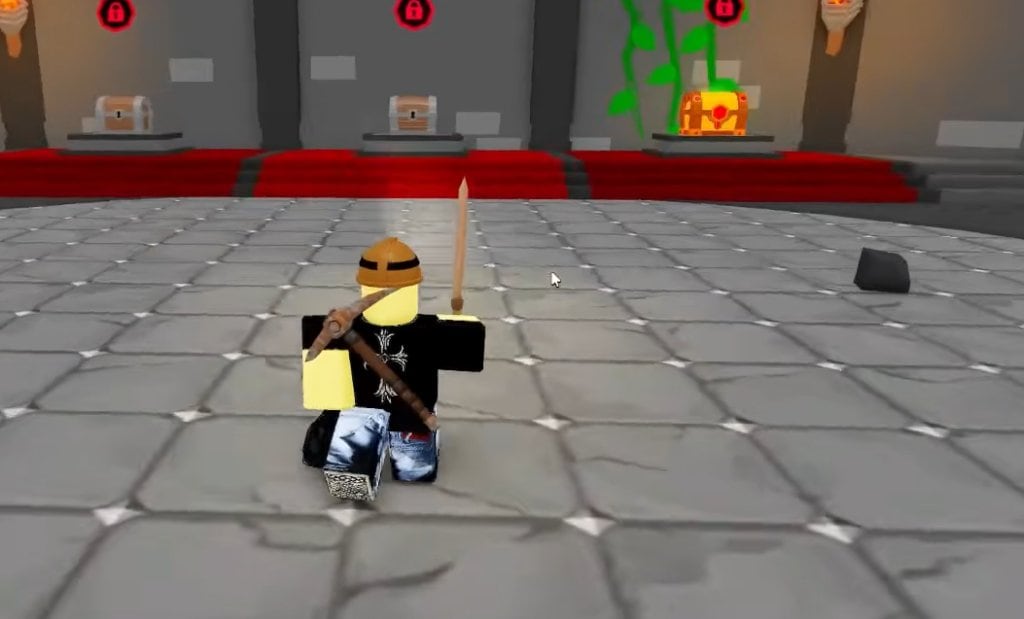
The Glowing Core layer starts at 84,000 m. The wall that people mean when they say “core boss” sits at 100 km with 500,000 HP and pays a Void Crystal when it falls. It is a boss wall, not a health bar with a nameplate: caves on both flanks, a fight behind the drill, and teleporters disabled for the duration after the 15 August patch. If you arrived here without a 90 km drill, read how to reach 100 KM first. This page is the last two kilometres and the fight itself.
Natural regen is 1 HP every 12 seconds. That will not outheal demon blasts. Cheap $100 medkits will. Speed potions last 60 seconds and exist so you are not standing in the beam. Power Burst exists so the bit actually finishes 500,000 HP before the lobby tilts. Life Steal helps if someone already bought the Epic rank. None of those tools spawn in your hotbar at 99 km unless you prepared at Trading Posts on the way down.
Prepare at 99 km, not at 100 km
Call a full stop around 99 km. Refuel. Empty sacks into the furnace and the Trading Post. Rebuild the barricade on the truck so the chassis is not a shooting gallery. Assign three jobs out loud: bit team (keep the drill on the wall), cave teams (both flanks), and behind-drill (the spawn people forget). If those three lanes are empty, the wall regenerates pressure faster than you deal 500,000 damage.
Stock at least six $100 medkits per active fighter, more if the lobby is small. Medkits are cheap because the fight is long, not because they are a joke. Drink a speed potion before you peek a cave. Mounted Gunner and the weapons ranking matter here more than they did in Grass; a gunner who stays on the truck can cover the bit while miners kite. Turrets from Crazy Zack should already be placed facing flanks, not facing the wall you are about to break.
Power Burst is the Epic you wanted before Crystal. Pop it when the wall is actually being damaged, not while half the server is still shopping. Deadly Drill is fine as extra wall damage once Drill Power is already high; it is a poor substitute if you skipped Drill Power for Drive Speed. Health Regen (Legendary) is a nice-to-have. Cart Extension does nothing for this fight. If the lobby owns Reaper, soul orbs that heal 25 HP and the Soul Lantern are extra sustain. If the lobby owns Driller, Mega Drill and Power Slam ranks should already be cheap. Neither class is required if the rest of the checklist is done.
During the wall: move, barricade, do not teleport
Keep moving. Demon blasts punish clusters behind the drill and anyone who treats the bit as cover. Strafe, heal, return. The barricade on the truck is there so you have a reset point; rebuild it when it breaks instead of arguing in chat. Cave flanks will keep spawning while the HP bar is still yellow. Leaving one cave open is how a “winning” wall still kills the driver.
Teleporters do not work during boss walls. Plan paths on foot. If you get downed in a cave, teammates have to walk to you. Call the down. Do not assume a Healer saw the icon. Revive before you loot. A 30-player server still loses if ten people are dead behind a rock and twenty are hitting a wall that is no longer the problem.
Bombo and Fuel Leeches can still exist on the approach from Crystal onward. Do not park crafted items in Bombo’s blast and then wonder why the Sentry Turret vanished for a minute. Do not ignore the fuel tank because “we are at the boss.” A dry drill cannot finish 500,000 HP. Assign one Miner to coal even during the wall. Camouflaged ore still freezes if you look at it; the miner hat light still matters in Glowing Core gloom.
Skip option: Basic Drill Boost
You do not have to fight this wall. Basic Drill Boost costs 300 scrap at Crazy Zack and launches the vehicle 10,000 m, which is enough to skip the core wall if you fire it at the right depth. Void Drill Boost costs 1,000 scrap and launches 50,000 m; that is a later-run tool, not the default skip. Crafting ranks, scrap targets, and why Chair and Wrench still matter on the approach are on the crafting guide.
Skipping pays you the time; fighting pays the Void Crystal and the clear. Pick before 99 km so half the lobby is not placing turrets while the other half is charging a boost. After a kill, do not immediately AFK. Post-core wall breaks can farm around 100 Cores, which is why the Core farming page tells veterans to stay in the instance. Heart of Earth at 1,000,000 m with a 5,000,000 HP wall is a different expedition. Bank the Crystal, restock medkits, and decide if this lobby is still a lobby.
Frequently Asked Questions
Quick answers for Cores, classes, and the 100 KM wall.
How much HP does the 100 km wall have?
500,000 HP. It sits in Glowing Core (from 84 km) at 100 km and pays a Void Crystal when it breaks. Ordinary walls along the way are much smaller.
How many medkits should we bring?
At least six $100 medkits per fighter, bought at Trading Posts before 99 km. Regen at 1 HP per 12 seconds will not cover demon blasts.
Do teleporters work during the boss wall?
No. The 15 August patch disables teleporters during boss walls. Walk flanks, call downs, and revive on foot.
Can Drill Boost skip the core wall?
Yes. Basic Drill Boost (300 scrap) launches 10,000 m and can skip the 100 km wall. Void Drill Boost (1,000 scrap) launches 50,000 m for later skips.