Drill to Earth's Core A layer plan for 100 KM
Wall HP, upgrade order, Clay fuel wipes, Trading Posts, Power Burst, and when to skip Spider's Den.
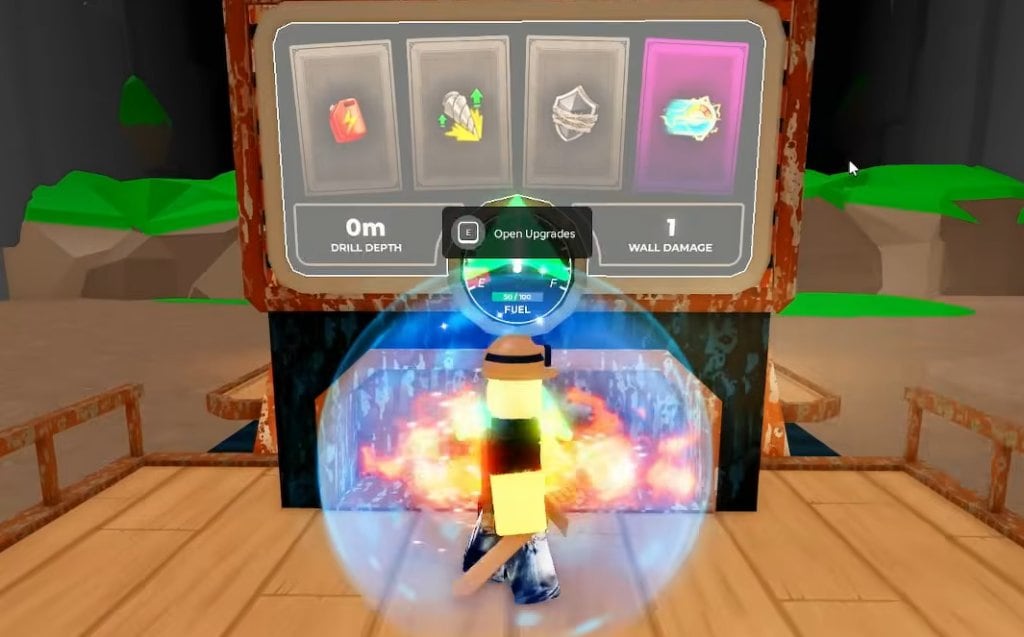
One hundred kilometres is the first real exam in Drill to Earth’s Core. Grass through Void is a fuel, wall, and structure test, not a speedrun trophy. Thirty players share one drill. If the tank hits zero in Clay or the 100,000 HP Abyss wall meets a team that bought Drive Speed and nothing else, the run ends short of Glowing Core. This page is the layer-by-layer plan. Depth numbers and wall HP also live on the layer tool. Boss-wall tactics for the 500,000 HP gate are on how to beat the core boss.
Bring the habits from the first-hour guide: Miner or a depth class, sacks, coal, and Drill Power ranks already purchased. Do not start a 100 KM attempt on a brand-new account that still thinks Cores buy fuel.
Grass through Stone (0-17 km)
Grass runs 0-3,000 m with 100 HP walls. Dirt is 3,000-10,000 m with 500 HP walls. Stone is 10,000-17,000 m with 1,000 HP walls. Ordinary walls still spawn about every 700 m to 1 km, so the bit is never “done” just because you broke the layer boss. The first dungeon is guaranteed at 3,000 m; take it. Dirt then rolls Spider Tunnel and Mineshaft. Clear Mineshaft. Spider’s Den (the Dirt spider tunnel) is skippable if the lobby is disorganized, the drill is already taking chip damage, or nobody brought a gun. A clean four-player clear is worth the chests. A 20-person wipe on webs is how 100 KM attempts die before Clay. More structure notes sit in dungeons and structures.
Upgrade order for this stretch: Drill Power until walls break without a 30-second stall, Fuel Storage so the tank survives idle mining, Sack Storage so ore actually reaches the Trading Post, then Drill Defense. Common upgrades start at 100 coins and rise after each buy in that rarity. Rare ranks (Power Slam, Engine Overdrive, Mega Drill, Firepower, Sharpness, Blast Power) start at 250. Skip stacking Power Drive. It moves the chassis; it does not kill walls. Full buy advice is on the upgrade tier list. Trading Posts are mandatory pit stops. Sell, refill, and leave. Gold bars from the furnace (about 500 coins each) are why crafting matters before Fossil.
Clay through Crystal (17-41 km)
Clay is 17,000-24,000 m with 2,000 HP walls. Void Clay in this layer empties the fuel tank on contact. Treat orange-black clay patches like lava. Assign two miners to coal at all times. If the tank blips, stop the drill and recover; a dry chassis in Clay is a wipe. Vampire Mansion spawns here and drops Golden Keys. Run it when the team is healthy. Skip it when fuel is already a problem. Churches appear about every 300 km, so you will not stash tools yet, but you should still think like someone who can lose the server: do not leave unique drops sitting in a sack you will drop on death.
Fossil is 24,000-31,000 m with 4,000 HP walls. Crystal is 31,000-41,000 m with 10,000 HP walls. This is where Bombo and Fuel Leeches start. Bombo explodes and disables crafted items for one minute; put turrets and scanners away from the blast and do not panic-pop a Drill Boost during the disable window. Fuel Leeches are why Fuel Storage ranks from earlier pay rent. Goblin Arena and Spider’s Lair both live in Crystal. Arena is a loot stop if the lobby can shoot. Spider’s Lair is a skip if you already skipped Spider’s Den for time; two spider wipes in one run is how 100 KM becomes 40 KM.
Buy Power Burst (Epic, 500 coins to start) before you leave Crystal if the lobby can afford it. Power Burst is the button you hold for late walls and for the 100 km fight. Deadly Drill is a later Common; it helps once walls are already breaking, not as a substitute for Drill Power. Mega Drill and Power Slam are cheaper if someone bought Driller. Life Steal (Epic) and Health Regen (Legendary, 1,000) are comfort, not a skip button. RPM Overclock is the Robux-leaning Epic; F2P teams should keep pouring coins into Drill Power and Fuel Storage instead.
Toxic through Glowing Core (41-100 km)
Toxic 41,000-51,000 m (25,000 HP), Radioactive 51,000-61,000 m (50,000 HP), Abyss 61,000-72,000 m (100,000 HP), Void 72,000-84,000 m (200,000 HP), then Glowing Core from 84,000 m with the 100 km boss wall at 500,000 HP. Heart of Earth at 1,000,000 m with a 5,000,000 HP wall is a different expedition; do not plan it on this run. Boss walls spawn two cave flanks plus a fight behind the drill. After the 15 August patch, teleporters are disabled during boss walls, so you cannot blink out of a bad flank. Natural regen is 1 HP per 12 seconds. That is background, not a medic.
Park at every Trading Post. Restock $100 medkits and 60-second speed potions as soon as they appear. Craft Basic Drill Boost (300 scrap, 10,000 m launch) before 90 km if the lobby might skip the core wall; Void Drill Boost (1,000 scrap, 50,000 m) is overkill for a first 100 KM and better as a later skip tool. Cart Extension at 10,000 coins is Mythic flex, not a requirement. Ultra Drill and Money Drill (Legendary) help if the coin pile is real; they are not why you failed at 70 km. You failed at 70 km because fuel, Defense, or a skipped Trading Post died in Clay.
From 84 km, play like the wall is already up. Rebuild barricades, assign cave teams, and read the core boss checklist out loud. A team that reaches 99 km with Power Burst, six medkits, and a moving drill is a 100 KM team. A team that reaches 99 km with empty sacks and a dry tank is a highlight reel for the next lobby.
Frequently Asked Questions
Quick answers for Cores, classes, and the 100 KM wall.
How long does a 100 KM run take?
A coordinated 30-player lobby with Drill Power ranks and fuel discipline can do it in one sitting. Disorganized public servers often die in Clay or Crystal and need a second attempt.
When should I skip Spider's Den?
Skip the Dirt spider tunnel if the drill is already taking chip damage, the lobby has no guns, or a wipe would burn the fuel you need for Clay. Mineshaft is usually still worth clearing.
Why did our fuel vanish in Clay?
Void Clay empties the tank on contact. Fuel Leeches from Crystal onward also drain. Rank Fuel Storage, keep miners on coal, and stop the chassis instead of driving through the bad patch.
Which upgrade matters most for depth?
Drill Power first. Then Fuel Storage and Sack Storage. Buy Power Burst before the late walls. Avoid over-investing Power Drive. Driller makes several drill ranks cheaper.
Can I skip the 100 km wall?
Yes. Basic Drill Boost (300 scrap) launches 10,000 m and can skip the core wall. Fighting it pays a Void Crystal and is covered on the core boss page.