Drill to Earth's Core Your first hour underground
Academy, Miner, sacks, the 3 km dungeon, coal fuel, Trading Posts, and the Drill Power habit.
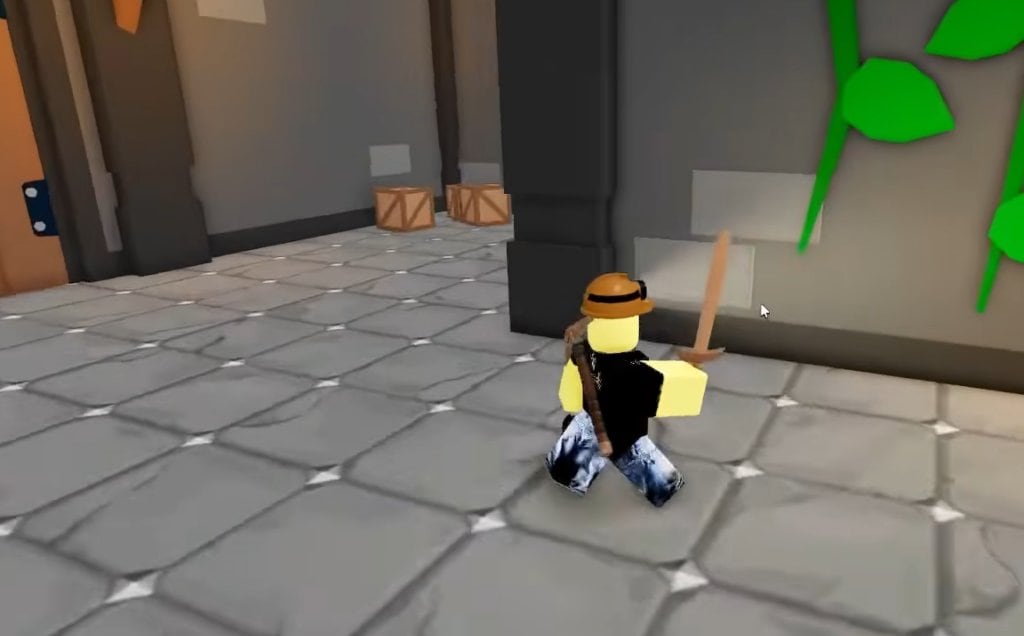
Drill to Earth’s Core is a 30-player Roblox co-op run. You spawn in a lobby, spend Cores on a class, then drop into a shared drill that has to reach the Glowing Core. This page is the first-hour plan: what to buy, what to mine, and which habits stop a new server from dying in Dirt. Pair it with PC and mobile controls so you can actually sit on the chassis and open the upgrade panel.
The game launched on 25 February 2026 from Game Name. (Socksfor3). Season 1 is live. There is no promo-code chest waiting for you after the tutorial. If you came here from a codes video, you probably wanted Dig to Earth’s CORE! instead.
Join, Academy, and the Miner purchase
Join a public server or a full private lobby. Before you touch the drill, walk the Academy boards. They explain the two currencies you will confuse for a week: Cores stay on your account and buy classes; Coins exist only inside a run and buy drill upgrades. Two Robux passes exist if you want them later: Sack Storage for 79 Robux and Extra Health for 99 Robux. Neither is required for the first session.
Buy Miner for 100 Cores. That is the only class you should purchase with a fresh account. Miner adds 50 percent pickaxe power, which is how you fill sacks, feed the furnace, and keep the fuel tank from hitting zero while veterans ride. Scout and Healer cost 3,000 Cores. Tank, Gunslinger, Mechanic, Driller, and Bruiser cost 5,000. Demo, Reaper, Princess, and Lucky Looter cost 10,000. Goblin King, Bounty Hunter, Pirate, and Executioner cost 30,000. Those prices live on the class cost table. Do not sit in the lobby staring at Pirate while you still cannot mine camouflaged coal.
Grab a sack and keep it on. Ore you look at long enough will freeze in place, then your pickaxe can break it. The miner hat light is not cosmetic; dark Clay and Fossil rooms hide the nodes that pay for Fuel Storage. If your sack fills in ten seconds, you need more Sack Storage on the drill, not a new class.
The 3 km dungeon, coal, and the Trading Post
Start the descent. Sit on the drill (a crafted Chair helps; see crafting). Ordinary walls appear about every 700 m to 1 km. The first structure is guaranteed at 3,000 m, right as Grass gives way to Dirt. That tutorial dungeon is not optional flavor. Clear it. Chests, scrap, and a first feel for mimics all live there. Random structures then appear about every 7 km. Skipping them to “save time” is how teams reach Stone with empty sacks and a 100 HP drill.
Fuel is coal and similar burnables, not a magic bar that refills in the lobby. When the tank dips, get off the vehicle and mine. If nobody is mining, the drill stops, mobs pile on the bit, and the run ends in a layer you could have walked. Sell extra ore at the Trading Post whenever one spawns. Coins from those sales buy Common upgrades at 100 each: Drill Power, Fuel Storage, Drive Speed, Drill Defense, Deadly Drill, Team Health, Sack Storage, and Power Drive. Prices in a rarity go up after every purchase in that rarity.
Free-to-play order for hour one: Drill Power, then Fuel Storage, then Sack Storage. Deadly Drill can wait until walls sting. Power Drive looks exciting and is a trap if you stack it before the bit can actually break walls. Full rarity lists and skip rules sit on the upgrade rankings. Depth numbers for Grass (0-3,000 m, wall 100 HP) through Heart of Earth live on the layer chart.
What not to do in the first session
Do not blow your first 3,000 Cores on Scout because the lobby mannequin looks fast. Miner prints the ore that funds everyone else’s guns. Do not ignore Dirt’s Spider Tunnel and Mineshaft; both sit on the dungeons page and pay better than another minute of AFK riding. Do not dump coins into Power Drive until Drill Power has a few ranks. Do not assume the server will save your hotbar. If the instance closes, only a Church (about every 300 km) has stored tools. Your first hour will not see a Church. Extract knowledge, not a perfect stash.
Cores after the tutorial come from achievements, dailies, chests, and wall clears. The dedicated Core farming routes page is the next tab after this one. Lucky Looter at 10,000 Cores is the chest-class upgrade when you are ready to reroll loot luck; read Lucky Looter before you buy it. Driller at 5,000 Cores is the first “I am here to push depth” class because of the 50 percent drill power and cheaper Drill Power, Mega Drill, and Power Slam ranks. Details sit on the Driller page. You do not need either class tonight.
A clean first hour looks like this: Miner equipped, sack filling, 3 km dungeon cleared, coal in the tank, two or three Drill Power ranks, at least one Fuel Storage rank, and a team that hops off at every structure. If that loop feels stable, start the 100 KM plan instead of rerolling lobbies for a shiny class you cannot afford.
Frequently Asked Questions
Quick answers for Cores, classes, and the 100 KM wall.
Which class should I buy first?
Miner for 100 Cores. The 50 percent pickaxe bonus feeds fuel, sacks, and Trading Post coins. Wait on 5,000-Core and 10,000-Core classes until dailies and wall Cores stack.
What should I spend my first coins on?
Drill Power first, then Fuel Storage and Sack Storage. Common upgrades start at 100 coins and rise after each buy in that rarity. Avoid stacking Power Drive early.
Can I skip the dungeon at 3,000 m?
You can drive past it, and you should not. It is the guaranteed first structure, it teaches mimics, and it drops the scrap and chests that fund hour one.
Do I need Robux to finish the first hour?
No. Sack Storage (79 Robux) and Extra Health (99 Robux) are optional passes. Core packs at Benji the Banker are also optional spend.
What happens if the server closes during my first run?
In-run coins, drill ranks, and unsaved tools vanish. Churches stash gear about every 300 km, which you will not reach in hour one. Rebuy Miner and start another descent.